It has been a difficult time the last few weeks and people are still struggling with both the tools and the ways how to hold online meetings. How do you include everyone in a discussion? How to simulate real classroom experience? Let me share my experience with facilitation techniques and tools in the last month.
Author: Josip Osrecki
The Basics
One would think basics would be easy, but in real life, people do not have all the prerequisites (like a dedicated workroom) to create the perfect working environment. In that case, simply think about the ones you can meet.
Video is not optional – I do not care if you have kids or dogs running around, you are having a bad hair day, or simply think video is not needed for this meeting – I want to see you engaged, your reactions and gestures which I cannot do if you are just on audio. And so do others. If you need to read an email or go to a different meeting it is polite to at least let other know this upfront to avoid awkward silence when somebody calls out your name.
Couple of tips that can improve your visual experience:
- Try placing your camera as horizontally as possible – looking at your eyes is much better than looking at your chin and/or up your nostrils
- Ideally, a video frame should start somewhere in your chest area and have around 10-20cm area above your head.
- Think of lightning – there is no point in having video on if the only light source is behind you and your face is almost completely dark.
- Ask participants if your audio is clear enough – try out different headphones and microphones if possible before an important presentation.
- Always look at the camera, especially if you are the presenter – if you have a second large monitor and your camera is on your laptop you might be tempted to look at the monitor rather than the camera. I believe it is acceptable if you try to place a laptop camera at an angle no more than 45 degrees compared to your monitor but only in case you are not the presenter.
- Make sure your household members are not congesting the bandwidth. There are plenty of solutions that can help you with this although not all operating systems and devices have this option. At least try to limit the ones you can control.
Presenting and facilitating - Agree on 2 or 3 hand signals to use during the meeting (“I want to say something”, “Please repeat”…). As a backup, agree on replacement signals to type in chat. You want to avoid somebody who needs to actually type the whole sentence. For instance, we usually replace “I want to say something” with uppercase “I” typed in chat. Then the facilitator can call out the person as soon as possible.
- It is almost a requirement to have a dedicated facilitator who can help you while you are busy with the presentation and the content. He/she will observe participants, warn you when somebody signaled something, and give you feedback about their reactions. They should also take care of the mechanics and make sure the tools you are using are working as expected so you have one less thing to worry about.
- I prefer people not to be muted from the very start of the meeting as it could send a wrong message (“Presenter speaks, you listen”). Ask people who have noisy backgrounds to mute once you are past introductions.
- Add a note-keeper role if needed as both facilitator and presenter need to focus on other things. Share notes after the meeting.
- If you are inviting people you are meeting for the first time ask them to either join 10 minutes earlier or to try out a video conferencing app the day before to avoid last-minute technical difficulties.
- Be prepared for the meeting to be slower paced and be ready to repeat some things more often – either due to bad connection or participants being distracted reading emails.
Take a 10-minute break every 60-90 minutes.
And also some advice that is applicable to any productive meeting:
-
- Break the ice with some casual conversation while waiting for everyone to join.
- Make sure everyone is clear what is the meeting goal.
- Explain who is at the meeting and why (especially for bigger meetings).
- In the end, decide on action points with a dedicated owner.
- Find a way to include people who are not contributing if possible.
- Try to minimize the number of people at the meeting. This is not always possible but bear in mind that when a number of people pass a single digit it becomes a crowd.
- Avoid PowerPoint and excel sheets if possible
-
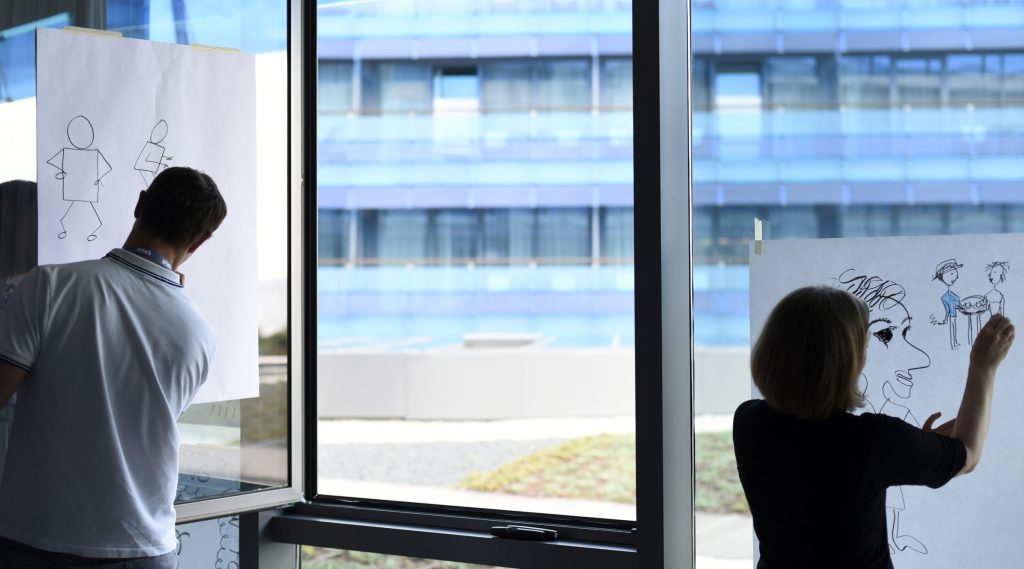
Tool Usage- Share your screen and sketch your ideas. Invest in a good tablet with a pencil and use it as often as possible. This is also a good practice during “regular” meetings, but during video calls, it will do wonders to keep everybody engaged. Drawings and visual stimulation that includes explanations of how to solve a problem will stick in people’s brains much longer than a video of you explaining it for several hours. Some apps allow you to share your iPad on the same network. With others, you will have to log in through your desktop/laptop with your primary account and as a guest with your tablet. For Android tablets, there is a script available online that allows you to share your tablet screen with a PC via a USB cable.
- During screen share, it would be great if you could also see participants on the second screen. If you have both a tablet and a laptop the trick is to log in as a presenter on one and a guest on the other. That way you can switch view to “participant gallery” mode on the laptop while sharing on the tablet (and vice versa).
Videoconferencing tool should ideally have the following characteristics:
-
-
-
- Simplest solution possible – even if the application is great for you since you have been using it for years, that does not mean it is easy for somebody else to set it up quickly. Search for an app that installs quickly and is most intuitive to use.
- Breakout rooms – if you want to split 15 people to discuss and come up with ideas on 3 different topics it is impossible to do it within a single video call without this feature. For interactive training like our “Scrum workshop,” this is essential. Alternatively, if the tool does not have this feature, set up several different meetings that act as separate rooms/tables and ask people to split up. Be careful though – this is OK when you split up for a minimum of 15 minutes as it will take at least 2-3 minutes for everyone to get back in the “main” room. Additionally, ask somebody to act as a facilitator in the second and third rooms.
- Collaboration tool – this is maybe the trickiest choice. Ideally, it should cover a variety of use cases and be simple enough for everyone to join as a guest. The trade-off with tools with wide application specter is they do not give you as much structure and options as you would get with specialized tools. For example, there are several really good retrospective solutions that are good just for (surprise, surprise) retrospectives. This means you need maybe 3-4 tools in total to cover all your needs and some additional overhead needed to teach the clients how to use them which can result in frustration. Try to pick 1-2 tools and stick with them to avoid confusion.
- Messaging tool – really any will do as long as you manage to keep track of all your messaging channels. Try to agree on naming rules for each group. Also, to avoid accidentally typing something to a client we actually recommend using different tools for communication with the client and between ourselves. You never know when a few words typed in the wrong group will cause a snowball effect
Regardless of what tools you are using, always (!!!) have a backup solution. Keep it simple. If everything else fails hopefully tools like google sheets will work, giving you enough structure and typing space where everybody can share their ideas.
So what is my pick tool-wise?
In CROZ we decided to leave it up to each department since everybody had some solution that already worked. If it is not broken do not try to fix it. On the other hand, it is of course encouraged to share experiences and best practices.I have my own personal preference which I will not share as I discover functionalities of tools I am exploring on a weekly basis. The reason being it is possible that my recommendation would be completely different a month from now.
I hope this article gave you at least one idea on how to improve your video conferencing experience. And of course, please share your best practices and experience in the comments.
-
-


